Introduction
In my technical articles I sometimes use inline fragments typed in a monospace font to highlight code or filenames that appear within floating paragraph text. Back in the days I did this with the <tt> element, nowadays I use <span class="tt"> and a CSS style like
.tt { font-family: monospace; }
I wanted to extend the tinyMCE in WordPress with a toggle button that behaves like the Bold or Italic buttons and surrounds selected text with such a <span class="tt"> element or, when pressed while an already surrounded text is selected, removes that surrounding again. Also, when the cursor is inside such an element, the button should switch to an “active” state that indicates that the character format can be deselected.
Implementation Details
Note: I currently have implemented this as part of my WordPress theme, but the code can easily be adapted to a plugin environment, one probably just has to replace get_stylesheet_directory_uri() with plugins_url().
The implementation consists of four parts:
- Some WordPress API calls that tell the admin backend to load an additional plugin and an additional CSS file into tinyMCE.
- Some JavaScript that uses the tinyMCE API to define a plugin that will provide a custom format tt (declared to be a <span class="tt"> element surrounding the text to be formatted) and a button to work with it as described.
- A PNG with transparent background to be used as a toolbar button icon.
- A CSS file that will be loaded into tinyMCE and that will make text that has the custom format tt applied visually distinct (by letting it have font-family: monospace).
The WordPress Portion
This part resides in my theme’s functions.php.
The following filter callback tells tinyMCE where the JavaScript with my tinyMCE plugin code is located, it will be in a file linuxfoo-mce-plugin.js.php (read next section’s note for an explanation of why it is a .php and not a .js file) in subdirectory js of my theme directory:
function linuxfoo_add_tinymce_plugin($plugin_array) {
    $plugin_array['linuxfoo_mce_plugin'] =
        get_stylesheet_directory_uri().'/js/linuxfoo-mce-plugin.js.php';

    return $plugin_array;
}
The following filter callback tells tinyMCE to add a button with the identifier linuxfoo_mce_tt to the GUI (which will be defined by the tinyMCE plugin itself, see the JavaScript portion below):
function linuxfoo_add_tinymce_button( $buttons ) {
    array_push($buttons, 'linuxfoo_mce_tt');
    return $buttons;
}
The following hook callback will tell the admin section to execute the two filter callbacks for tinyMCE that were defined above, and it will request tinyMCE to load an addtional external CSS file mce.css located in subdirectory css of my theme directory:
function linuxfoo_add_tinymce() {
    global $typenow;

    if(!in_array($typenow, array('post', 'page')))
        return;

    add_filter('mce_external_plugins', 'linuxfoo_add_tinymce_plugin');
    add_filter('mce_buttons', 'linuxfoo_add_tinymce_button');
    add_editor_style(get_stylesheet_directory_uri().'/css/mce.css');
}
add_action('admin_head', 'linuxfoo_add_tinymce');
The Javascript Portion
The file linuxfoo-mce-plugin.js.php in subdirectory js of my theme directory contains the definition of the tinyMCE plugin itself, which is written in tinyMCE v4 API.
Note: I make it a PHP script that uses the WordPress-API (by including wp-load.php, its location given relative to my plugin’s containing directory) to be able to check if the script is used by an authorized user. Frontend access to the script is not neccessary. Therefore, the script starts with a PHP preamble as follows:
<?php
header('Content-Type: application/x-javascript');

require('../../../../wp-load.php');

if(!is_user_logged_in()) {
    http_response_code(403);
    exit(0);
}
?>
Then follows the actual Javascript code of the tinyMCE plugin.
- The identifier linuxfoo_mce_tt that was used in the PHP code for WordPress above (in a callback for the mce_buttons filter) is declared by the call to editor.addButton().
- addButton() also registers two event handlers that affect the operation of the button:
- onClick switches the custom format on and off for the current selection.
- onPostRender is executed once after initialization of the button. It registers an event handler that monitors the edited document for changes in the HTML structure (a NodeChange event) and updates the active state of the button according to the cursor being inside or outside of a format tt element.
(function() {
    tinymce.PluginManager.add('linuxfoo_mce_plugin', function(editor, url) {
        editor.on('init', function() {
            editor.formatter.register('tt', {inline: 'span', classes: 'tt'});
        });

        editor.addButton('linuxfoo_mce_tt', {
            image: url+'/../images/mce/tt.png',
            title: 'Format as inline monospace',
            onclick: function() {
                tinymce.activeEditor.formatter.toggle('tt');
            },
            onPostRender: function() {
                var ctrl = this;

                editor.on('NodeChange', function(e) {
                    ctrl.active(e.element.className == 'tt');
                });
            }
        });
    });
})();
An Icon Image for the Toolbar Button
I use a 48 x 37 PNG file tt.png located in the subdirectory images/mce of my theme directory as an icon for the button. This image is assigned to the button with the call of addButton() in the plugin’s Javascript:
    tinymce.PluginManager.add('linuxfoo_mce_plugin', function(editor, url) {
        // ..
        editor.addButton('linuxfoo_mce_tt', {
            image: url+'/../images/mce/tt.png',
            // ...
Note: The url parameter used to concatenate the URL of the image points to the subdirectory js of my theme folder, where the tinyMCE plugin Javascript is located. So I go up one directory and then change to subdirectory images/mce where the PNG file is located.
The CSS for tinyMCE
The file mce.css in subdirectory css of my theme directory contains:
span.tt { font-family: monospace; }
This is just enough to tell apart highlit from non-highlit text while editing in tinyMCE. The frontend CSS for tt is more extensive (with a different background color etc.)
Result
Here’s a screenshot:
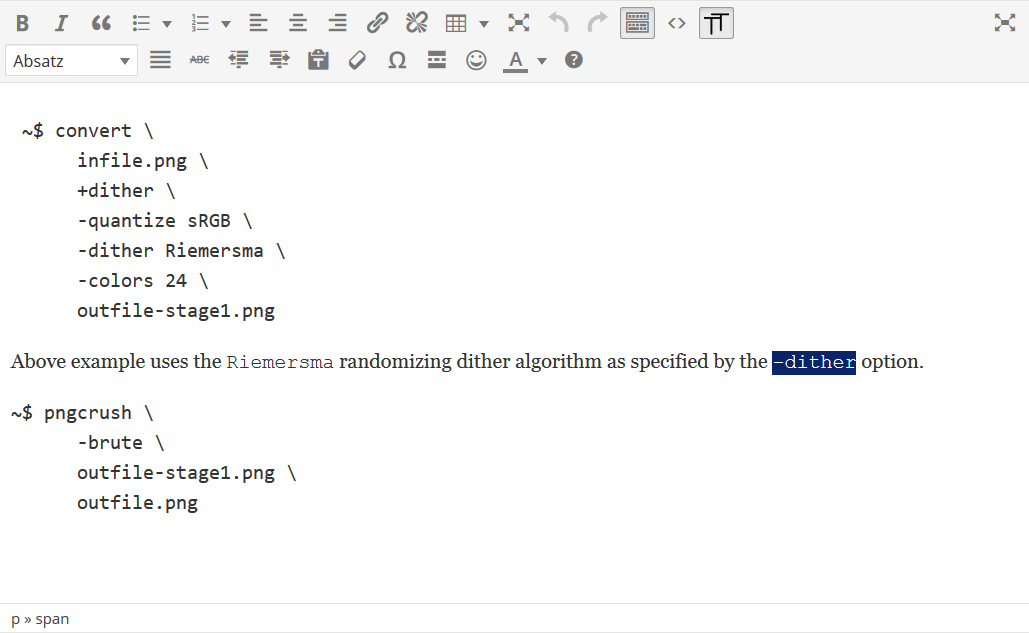
“linuxfoo_mce_plugin” providing a “TT” button that surrounds selected text with a “span” element.
- Not Being Tracked by Functions In WordPress Core
- Support For Multiple Languages in WordPress
- Adding Custom Format Buttons To tinyMCE in WordPress 4
- WordPress-Plugin to Embed Gitlab Project Information
- Removing the Builtin Inline CSS from WordPress
- WordPress Plugin to embed Gitea Repositories
- Disabling external Emojis in the WordPress Admin GUI